Revitalizing your kitchen doesn’t always require a major overhaul. A fresh coat of paint on your cabinets can breathe new life into the heart of your home. If you’re contemplating a bold and vibrant change, painting your kitchen cabinets green is a stylish choice. In this comprehensive guide, we’ll take you through the step-by-step process of painting your kitchen cabinets green, from preparation to finishing touches, ensuring a successful and visually appealing transformation.

Why Choose Green for Your Kitchen Cabinets?
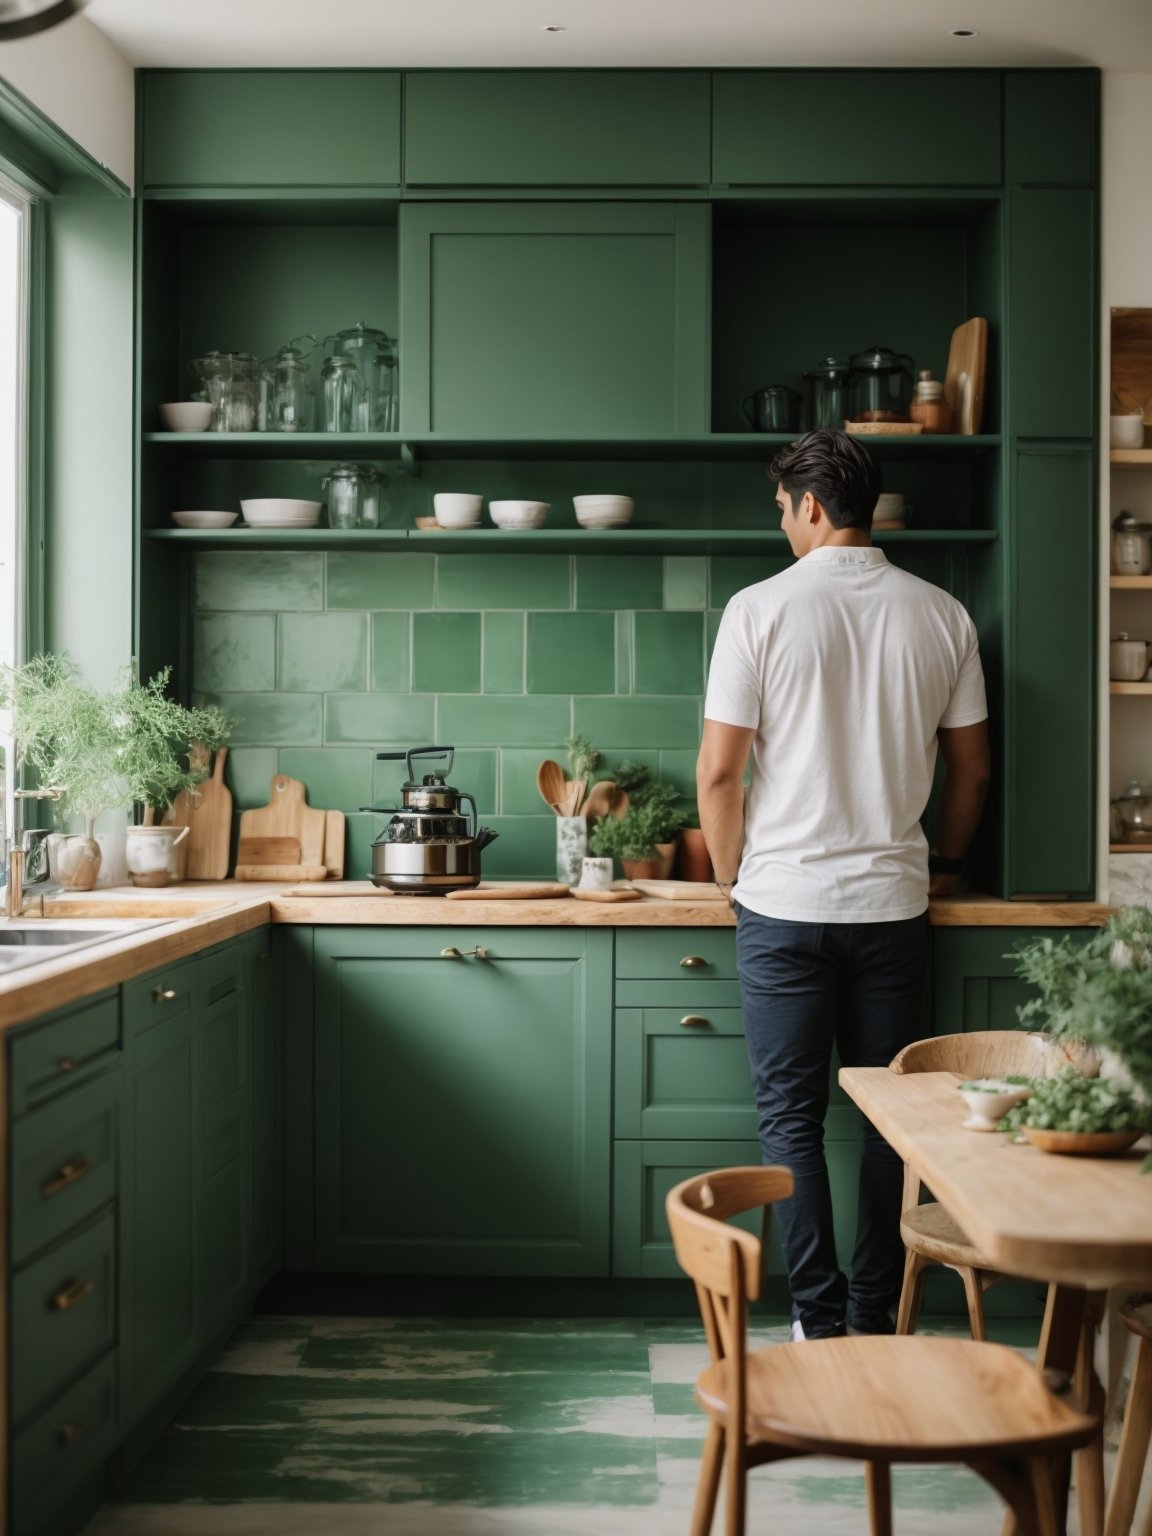
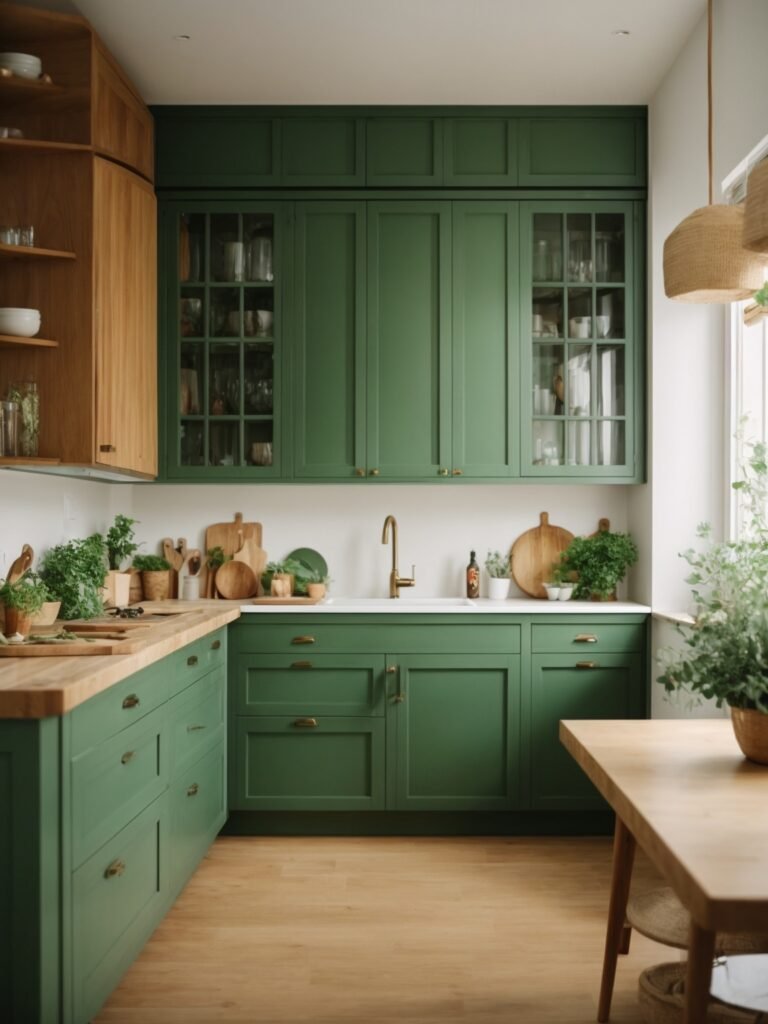
Green is a versatile color that brings a sense of freshness, tranquility, and connection to nature. When applied to kitchen cabinets, it can create a welcoming and vibrant atmosphere. Whether you opt for a soft sage green for a subtle touch or a bold emerald green for a statement look, painting your kitchen cabinets green allows you to infuse your space with personality and style.
Materials You’ll Need:
Before you embark on your green cabinet painting journey, gather the necessary materials to ensure a smooth and efficient process. Here’s a list of items you’ll need:
- Screwdriver
- Drop cloths or plastic sheets
- Painter’s tape
- Sandpaper (medium and fine grit)
- Wood filler
- Primer
- Green paint (oil-based or latex, depending on your preference)
- Paintbrushes and rollers
- Paint tray
- Tack cloth or damp cloth for cleaning
- Polyurethane topcoat (optional, for added durability)
- Screwdriver or drill (for removing cabinet doors)
Step 1: Prepare Your Kitchen
Clear the Space:
Start by clearing the area around your kitchen cabinets. Remove any items on countertops, tables, or adjacent surfaces. Cover appliances and furniture with drop cloths or plastic sheets to protect them from paint splatters.
Remove Cabinet Hardware:
Use a screwdriver to remove cabinet knobs, handles, and any other hardware. Place the hardware in labeled bags or containers to make reinstallation easier later.
Label Cabinet Doors:
If you’re removing cabinet doors for painting, label each one with a piece of painter’s tape to ensure you know where they belong during reassembly.
Step 2: Detach Cabinet Doors and Drawers
Use a screwdriver or drill to remove the cabinet doors and drawers. This will make the painting process more manageable and ensure an even application of paint on all surfaces. Place the doors and drawers in a well-ventilated area, ideally outdoors, on a flat surface.
Step 3: Sand the Surfaces
Sand Cabinet Surfaces:
Thoroughly sand all cabinet surfaces, including the doors, drawers, and cabinet frames. Start with medium-grit sandpaper to remove the existing finish or paint. Follow up with fine-grit sandpaper for a smooth surface. The goal is to create a slightly rough texture to help the primer adhere.
Fill Any Gaps or Holes:
Inspect the cabinets for any gaps, holes, or imperfections. Use wood filler to fill these areas, and then sand again once the filler is dry.
Step 4: Clean the Surfaces
Wipe down all surfaces with a tack cloth or a damp cloth to remove dust and debris created during sanding. Ensure that the surfaces are clean and dry before moving on to the next step.
Step 5: Apply Primer
Choose the Right Primer:
Select a high-quality primer suitable for the type of cabinets you have. If your cabinets are made of wood, a wood primer is recommended. For laminate cabinets, choose a bonding primer to ensure proper adhesion.
Prime the Surfaces:
Apply a thin, even coat of primer to all cabinet surfaces, including the doors and drawers. Use a paintbrush for corners and edges and a roller for larger, flat areas. Allow the primer to dry completely according to the manufacturer’s instructions.
Step 6: Paint Your Cabinets Green
Choose the Right Green Paint:
Select a high-quality green paint in the shade of your choice. Consider the type of paint (oil-based or latex) based on your preferences and the finish you desire.
Apply the First Coat:
Start with a thin, even coat of green paint. Use a paintbrush for edges and corners and a roller for larger surfaces. Allow the first coat to dry completely before applying the second coat. Check the paint can for recommended drying times.
Sand Between Coats (Optional):
For a smoother finish, lightly sand the surfaces between coats of paint using fine-grit sandpaper. Wipe away any dust with a tack cloth before applying subsequent coats.
Apply Additional Coats:
Repeat the painting process, applying additional coats until you achieve the desired depth of color. Be patient and allow each coat to dry thoroughly before moving on to the next one.
Step 7: Reattach Cabinet Doors and Drawers
Once the cabinets are fully painted and dried, reattach the cabinet doors and drawers using the labeled system you implemented earlier. Ensure that all hardware is securely tightened.
Step 8: Optional: Apply a Protective Topcoat
For added durability and protection, consider applying a clear polyurethane topcoat. This step is especially beneficial in high-traffic kitchens or if you anticipate frequent cleaning. Follow the manufacturer’s instructions for application and drying times.
Step 9: Reinstall Cabinet Hardware
Reinstall the cabinet knobs, handles, and any other hardware. Use your labeled bags or containers to easily match each piece to its designated location.
Step 10: Clean Up
Dispose of used paintbrushes, rollers, and any other disposable materials responsibly. Clean your tools thoroughly if you plan to reuse them. Return furniture and appliances to their original positions, and enjoy the fresh, vibrant look of your newly green-painted kitchen cabinets.
Tips for Success:
- Ventilation is Key: Ensure proper ventilation in your workspace by opening windows and doors. Consider using a fan to help dissipate fumes, especially if you’re using oil-based paint.
- Take Your Time: Rushing the process can lead to uneven paint application and longer drying times. Allow each coat of primer and paint to dry completely before moving on to the next.
- Invest in Quality Materials: Using high-quality paint, primer, and tools will contribute to a more professional-looking finish and long-lasting results.
- Test the Color: Before committing to a full paint job, test the chosen green color on a small, inconspicuous area to ensure it complements your kitchen’s overall aesthetic.
- Consider Professional Help: If you’re unsure about your painting skills or want a flawless finish, consider hiring professional painters for the job.
Conclusion
Painting your kitchen cabinets green is a rewarding DIY project that can transform the look and feel of your culinary space. From selecting the right shade of green to meticulous preparation and application, following this step-by-step guide ensures a successful and visually appealing outcome. Enjoy the process, take your time, and revel in the vibrant and stylish ambiance your newly green-painted cabinets bring to your kitchen.